Blemish Removal
Spot removal is not just for landscapes or dust removal, it can also be used to retouch facial blemishes. Let’s do some spot work on a face. For this image, I’m just doing light work to demo the process. There’s been some negative Clarity brushed on the skin, and a little red removed from the skin. All blemishes were left intact for the initial shot.
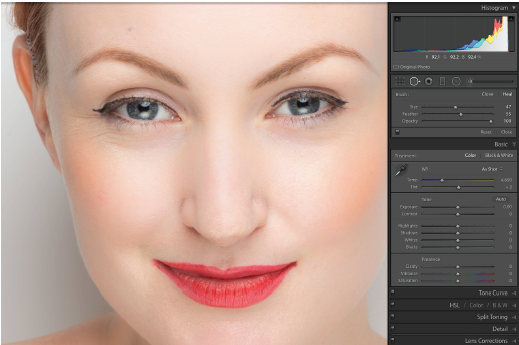
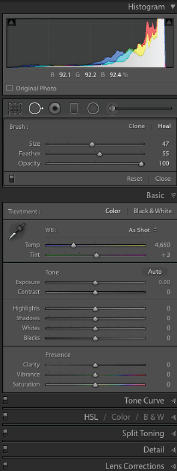
For the circles under the eyes, I draw over the area to be retouched with Feather and Opacity at 100. The Size is set so only one stroke is required. Next, I reduce the Opacity to blend the fix with the original area. This helps it look more natural. The aim is not to remove, but to improve. Lightroom won’t select the best area, so move the source to the cheek directly below the eye. When retouching, you need to match areas because skin texture is different all over the face. Skin from the upper cheek is different from cheek skin near the chin. The side of the forehead is different than the center, or even the area just above the nose. It’s critical that you match skin as you spot.
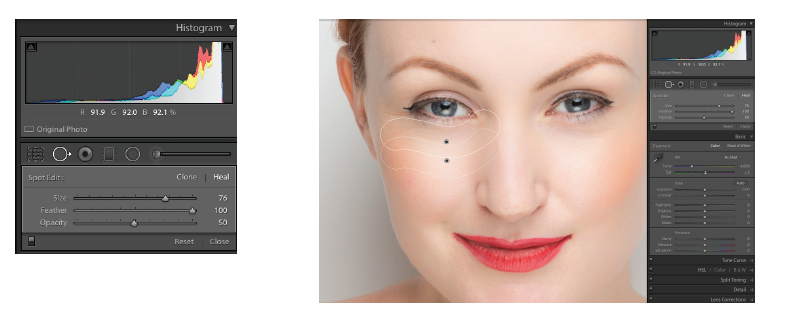
With one eye done, repeat the process for the second eye. The settings you’ve changed for the first eye will be set for the second. Now tackle the blemishes. After the first blemish is removed, reset the Opacity to 100. You want to completely remove these. Set the size to match the blemish. Use the shortcut Command + Option + click and drag (Mac) or Control + Alt + click and drag to size the spot as you go.
The difference between the Before and After views is subtle. That’s the point.If a retouch is noticeable, you’ve done a bad job.

Red Eye
Red Eye occurs when flash is reflected from your subject’s retina.It’s prone to happen with compact cameras and in-camera flashes from digital SLRs.It can still happen with external in-camera flashes if you’re far enough away from your subject and using a telephotos lens.In fashion circles, it’s common when using a ringflash.
Red Eye is the third tool in the Tool Strip.It has no shortcut and can’t be synced to other photos.Lightroom 6 has a new addition to Red Eye; the Pet Eye tool. Let’s look at both.
Red Eye Removal
For humans (and possibly some aliens), the retina reflects red.This tool will detect the redness and apply a black mask to hide it.In order for the redness to be detected, you must draw an oval over the eye area.
As per the panel instructions, click the center of the eye and drag outward to include the whole eye.If it works, you’ll see a little animation as Lightroom zooms into the pupil and darkens it.
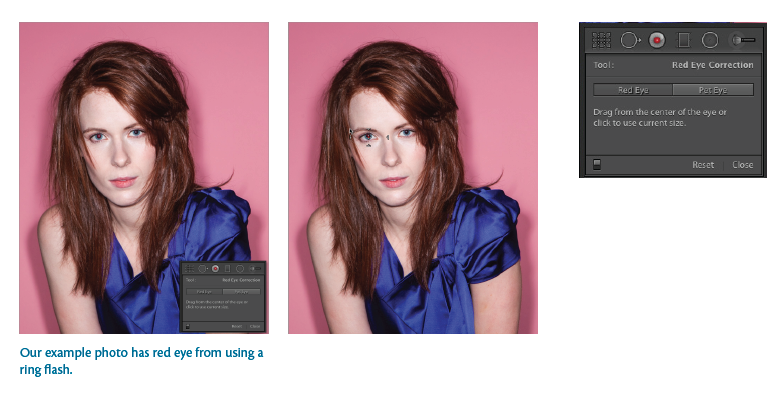
If you’ve not included enough of the eye, or the currently selected size hasn’t worked, you’ll see an error message. Once the eye has been fixed, the panel changes to Edit mode.In this mode, you can change the pupil size, as well as darken the pupil further if necessary. In addition, you can drag the red eye position around. Click the other eye(s).If you want to avoid the error dialog, drag over each eye individually.
These helpful tips were taken from Lightroom Guru Sean McCormack’s book, The Indispensable Guide to Lightroom CC – Available now!