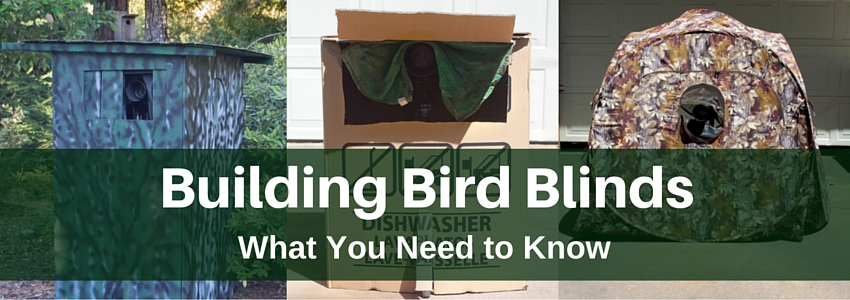
A “blind” (as it pertains to photography) is a concealment device used to camouflage the photographer from the subject of the photograph. When photographing birds, you can either sit in plain view of the birds, or use a blind to remain hidden from them. I prefer to use a blind whenever possible. It typically allows for a closeness that is difficult to get with many species of birds that are wary of humans. Working from a blind can be comfortable; it allows you to move, have a drink or a snack, or reposition yourself as needed without startling the birds you are trying to photograph.
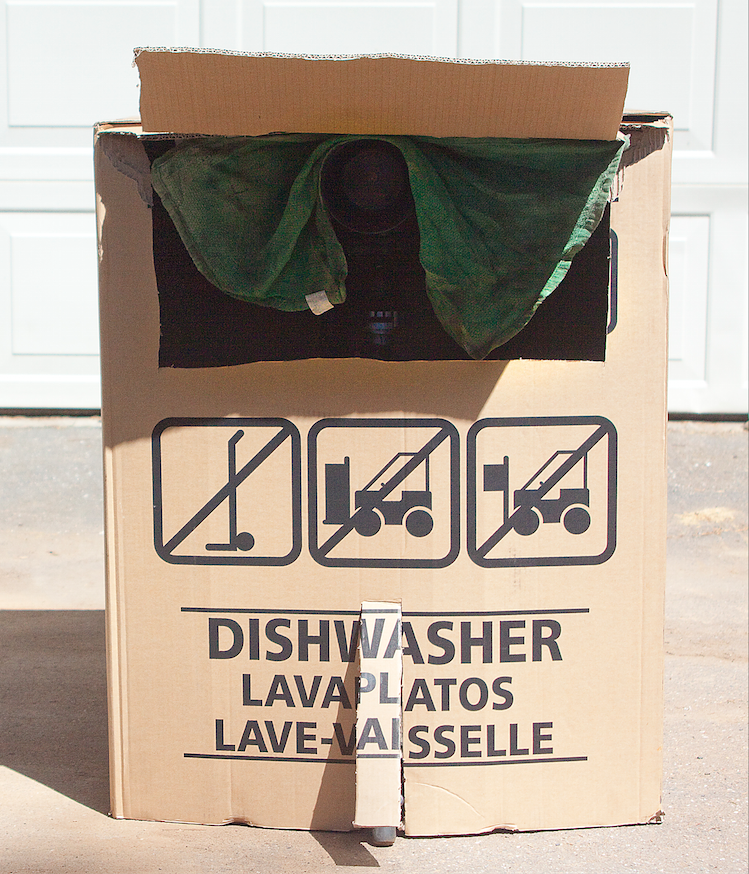
A blind is anything that can be used to block the birds’ view of you, but still have some sort of opening for the camera—the purpose is to have a clear view of the birds without the birds having a clear view of you. Simple blinds can be made by using objects at hand, such as the latticework of a deck or a wooden fence. Cut a small viewing hole through which you can look and photograph. Other good examples of simple blinds are a sheet hung over a piece of rope, or a large cardboard box from a new appliance like a washer or dryer.
One of the best blinds of all is often equipped with heating and air conditioning, a phone, TV, computer, and a bathroom. You guessed it—the inside of your house. Just set a comfortable chair near an open window from which to photograph. Cover the window with an old sheet or some leftover wrapping paper. Set up your camera and cut a small opening in your blind for a viewing port at the height of your camera. Now you’re in business!
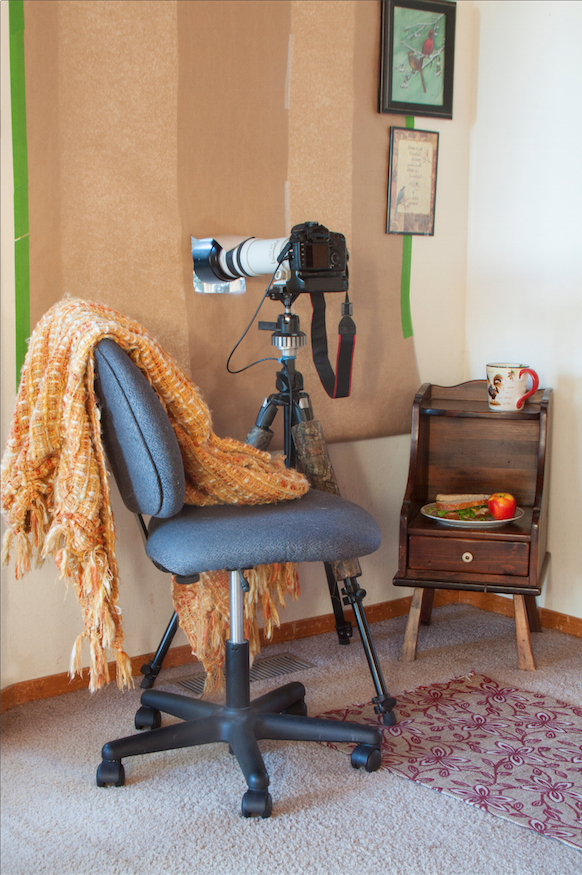
The advantage of using your home as a blind is that you can take short breaks to accomplish other tasks around the house. Just be sure to use earphones or shut the window so as to not scare the birds. The main disadvantage is that you may miss the crucial moment to photograph that special bird you’ve been waiting for.
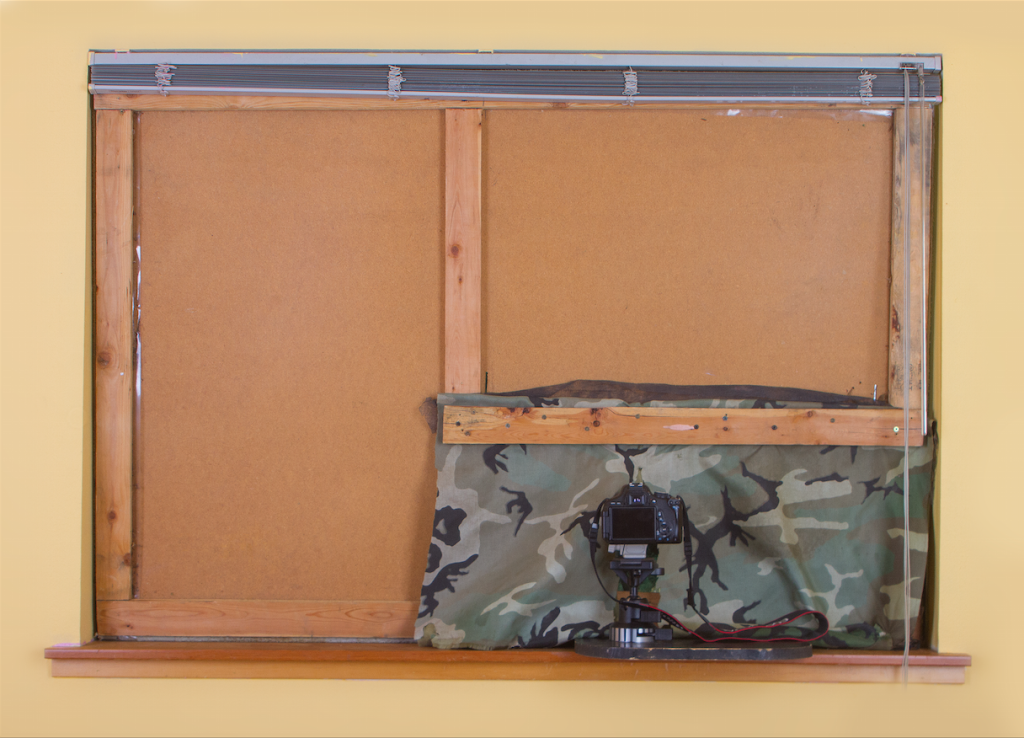
More permanent or semi-permanent window blinds can be made from thin plywood or heavy cardboard. The edges can be wrapped and taped to prevent scratches to the windowsill. They can be stored easily behind the couch or other furniture, or against the wall, ready for when you want to use them. Measure the inside dimensions of your window, and then transfer those measurements onto a piece of cardboard or plywood and cut out your blind. Then cut an opening for the camera. If the opening is rather large, you might consider covering it with a dark piece of fabric to help conceal your movements while still allowing the hole to be accessed by your camera lens.
The disadvantage of using a room in your house is the potential for interruptions and distractions within your home that will ruin prime moments of photographic opportunity. Make it clear to other household members that you wish to be left undisturbed while you are photographing.
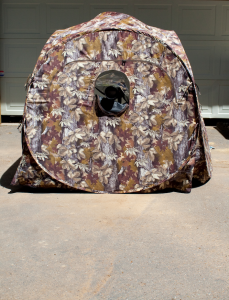
Other blinds that can be used out in your yard are hunting blinds. These can be purchased commercially from sporting goods stores and other suppliers. Many of them are quite simple to use and can be set up or taken down in a matter of minutes. The other possibility is to go the DIY route and make a blind by either sewing one yourself or building one out of wood or plywood, or making frames and covering them with material. There is an incredible amount of options. If you live in the far north you can make a blind out of an ice fishing shack. The main advantage of these types of blinds is that they are not limited to use in your yard. They are usually small and portable enough that you can take them with you on photo excursions in other places in the world!
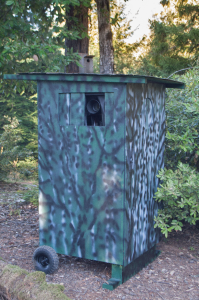
Should you decide to build a more permanent blind in your yard, be very sure of its location, since it will be difficult to move. Make careful note of the backgrounds and direction of the sun.
This article is from Secrets of Backyard Bird Photography by Chris J. Hansen. View the full book here.