With the right flash and flash accessories, you can be sure of taking great pictures without irritating shadows or excessive contrast, whether you are shooting indoors or outdoors using fill flash. But don’t forget to read the manual before you start shooting!
1. Choose the Right Portable Accessory Flash
 The flash units built into many cameras often provide too little or too much light for the shot you are planning and aren’t of much use for creative purposes. Accessory flash is much more flexible and is available in all sorts of shapes and sizes. We recommend that you purchase one made by the same manufacturer as your camera, as you can then be sure that the camera’s metering systems will mesh with the flash. A unit that can be set up to produce low flash output is also very useful, and allows you to use subtle flash effects (fill flash) to reduce contrast and supplement natural light.
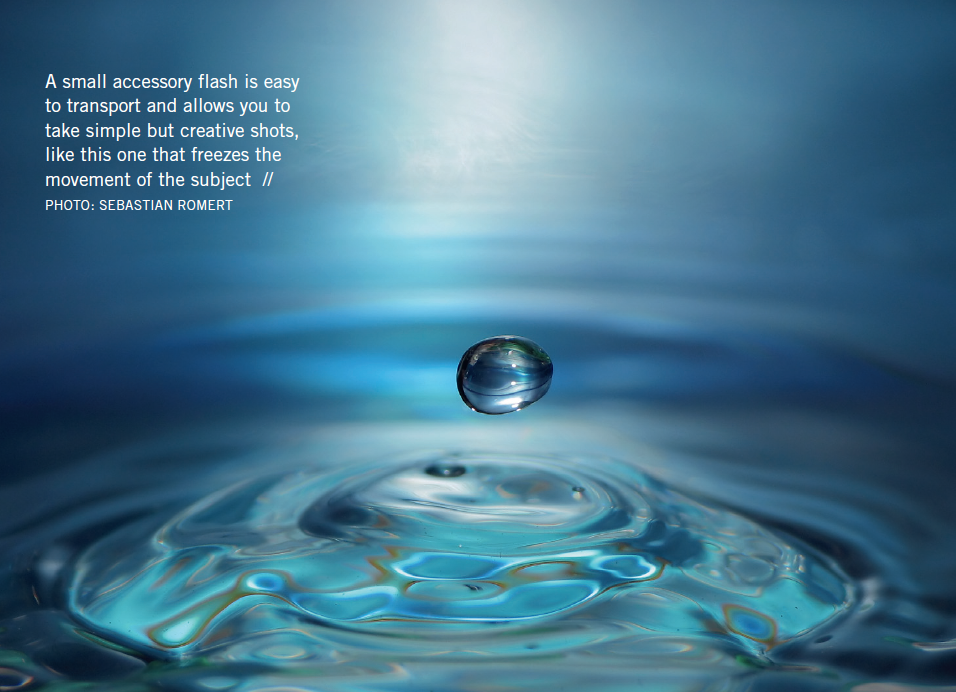
Tip: Create Freezing Movements. “Freezing” movements, like the water drop in the image above, is simpler than you might think, and requires just a little patience while you zero in on exactly the effect you are looking for. Use the fastest flash synchronization (“flash sync”) speed that your camera allows (check the manual to find out the right value for your particular model), and make sure you use an aperture that provides sufficient depth of field to keep your main subject in focus. In the image reproduced here, a blue plastic folder was used to color the reflected flash. A die was then dropped repeatedly into the water using tweezers while the photographer focused manually on the spray. For shots like this, you can increase the drama and background contrast by coloring the water with food coloring. A reflective object (such as a gold ring) placed in the water refracts the light and produces an additional pattern on the water’s surface.
2. The Right Portable Reflectors
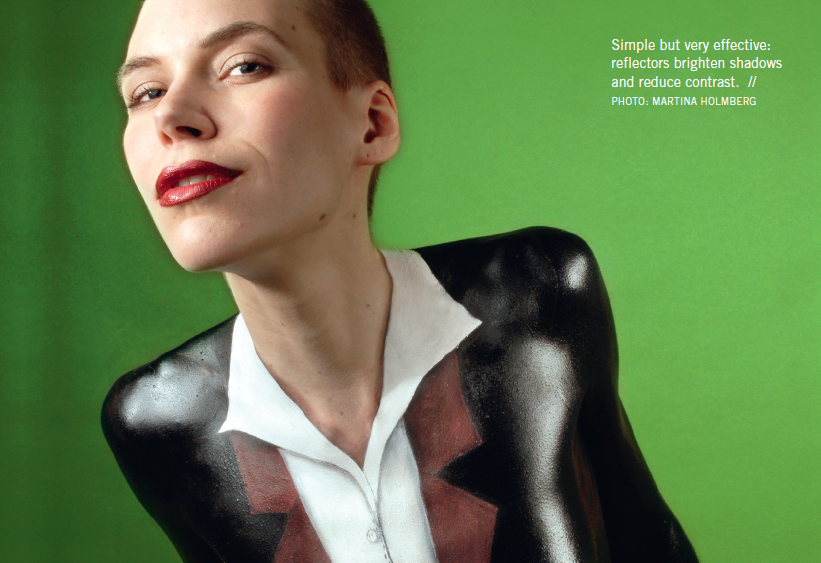
Available light is often sufficient to produce great images, but tweaking contrast a little can still give a photo extra pizzazz. A simple but effective tool for doing just that is a foldable reflector. These are usually white on one side with a silver or gold coating on the other. The white side produces neutral reflections and can be used under most circumstances. The warmer tones produced by a gold reflector are more suited for portrait situations, especially outdoors. Silver reflectors produce a harder light that is better for use in indoor, flash-lit situations.
Tip: Use Reflectors to enhance contrast and add brightness. Reflectors are easy to fold up and carry and can be leaned against trees or walls or mounted on tripods and purpose-built stands. Take care to angle your reflector to direct the maximum possible amount of light at your subject. For example: use a reflector to brighten the shadow side of a portrait subject’s face and reduce contrast. Or reflect light into your subject’s eyes to make them sparkle, adding character to the finished image.
3. Select The Right Diffuser
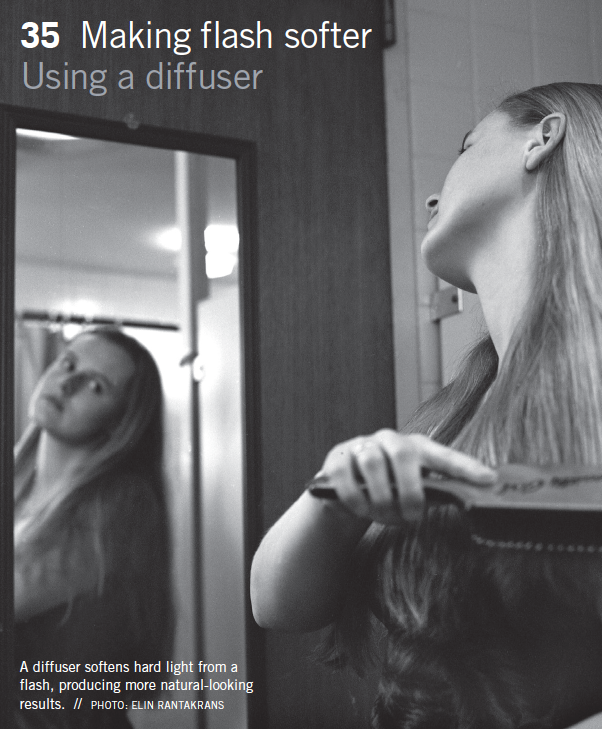
Diffusers come in a variety of shapes and sizes, and most accessory flash units include a simple plastic diffuser that can be push-fitted onto the flash head. High-end diffusers look more like miniature softboxes and the rule of thumb here is: the larger the diffuser, the softer the light it will produce. As with most lighting accessories, diffusers reduce flash output, so you will have to experiment to find the right compromise between softness and brightness for your particular subject.
Tip: Avoid Direct Flash. Flash is often too direct and too “hard,” and produces dark shadows that give an image too much contrast while still not giving any definition to the face. Direct flash should be avoided, and can give a photo an unprofessional look. If you want portraits to look flattering, soft light is always better.
Did you find these tips helpful? Learn more from Buying the Right Photo Equipment by Elin Rantakrans.