The Easiest Way to Create Fine Art Greeting Cards June 28, 2016 – Posted in: Photography – Tags: greeting cards, Photo for OS X, printing
Of all the things I print with my Epson R2000, fine art greeting cards are far and away the most popular. And if you’re using a Mac, you can create your own masterpieces by following the simple steps in this article.
First, what are fine art greeting cards? Well, you’ve probably seen them in gift shops while traveling. They measure 5″ x 7″, feature an image or painting by the author, are printed on high quality paper, and include an equally nice envelope. Many artists sign the cards then put them in glassine sleeves for an added professional touch.
When you look at them, it’s hard not to be impressed. “Wouldn’t it be wonderful to create something like this with my photography?” you might think. And indeed you can.
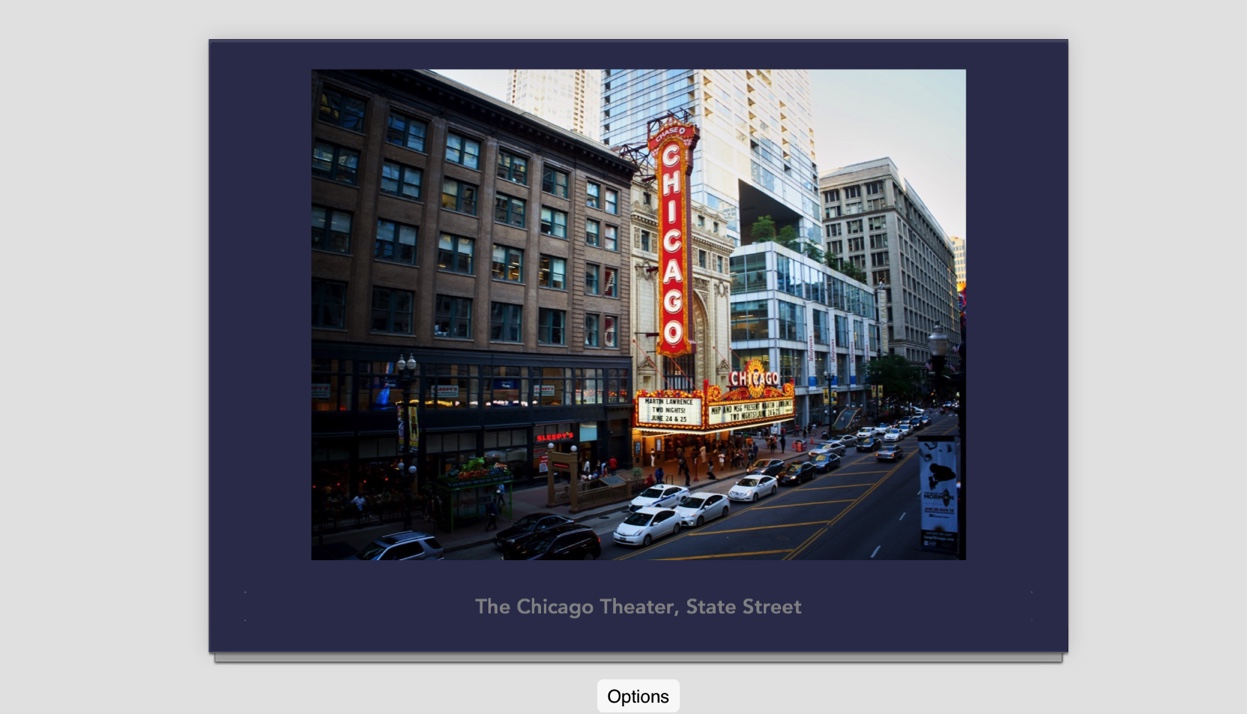
You have a variety of design options to customize the back side of the card as well, as shown here. You could even add your logo and contact info.
The Card Design Tool in Photos
Apple has built all sorts of design tools into Photos to create calendars, books, and greeting cards. The intent is to build the projects in Photos, then purchase the output through Apple’s connected store.
But you don’t have to go that route. You can design the card as intended, but then print it yourself using the inkjet printer that you likely already have (but aren’t using that often). The workflow goes like this.
- Choose a picture in your Photos library, then click on the + button in the top toolbar.
- Choose “Card” from the popup menu.
- In the next menu, select: Folded, 5″x7″.
- Choose a template from the next page. There are dozens of these listed by categories via a popup menu beneath Choose a Card Theme.
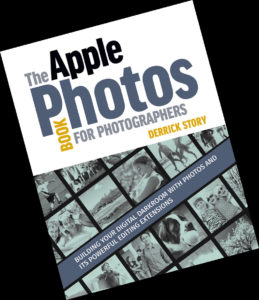
- Once you select a theme by double-clicking on it, you’re moved over to the design area where you can customize the front, back, and interior. I have specific instructions on how to do this in my Rocky Nook guide, The Apple Photos Book for Photographers.
- Now you can output your creation. Just go to File > Print.
For the paper, you can cut your own to 7″ x 10″ and set up a custom size in the Print dialog box (I also explain how to create custom sizes in the book). If you don’t want to cut the paper yourself, you can buy it already sized and scored from Red River Paper.
I also cover all of the surrounding details in The Apple Photos Book. So you do get the step-by-step instructions for making your own fine art greeting cards, and you can read about everything else that you’ll need to take full advantage of the outstanding design tools in the Photos app.
You’ll probably feel rather proud once you’re holding the finished card in your hands. And you should. You have just created a work of art. And it doesn’t get much better than that for photographers.