Food photography is a lot of fun. Virtually everyone reacts positively to great food photos, and it is an appetizing genre full of variety. If you are a hobby cook, food shoots can be really exciting, and educational too. One thing to keep in mind is that if nothing else, food photos should make you feel hungry! Freshness and a natural look are important factors if you want to stimulate the viewers tastebuds.
When shooting food, it is important to have a basic knowledge of food and cooking before you begin. A full-scale kitchen is recommended as is a cook or professional who knows how to properly dress a plate.
Additionally, to radiate freshness great food shots should be taken in daylight or natural-looking artificial light. Due to the similar nature of many of the subjects, food photos are also usually taken from the same few viewpoints with the same perspective.
The three most-used food viewpoints are:
- Vertically from above
- Diagonal from above
- Horizontally with a slight raised camera angle
Before you begin your shoot, a few essential food photography props are:
- A spray bottle or an airbrush to keep vegetables fresh, add water droplets, and keep meat looking juicy, or to add moisture exactly where you need it
- Brushes to moisten surfaces or add oil
- A long pair of tweezers for making fine adjustments to the individual elements of a dish
- Cling film to use as an invisible float to keep the ingredients in a soup from sinking tothe bottom
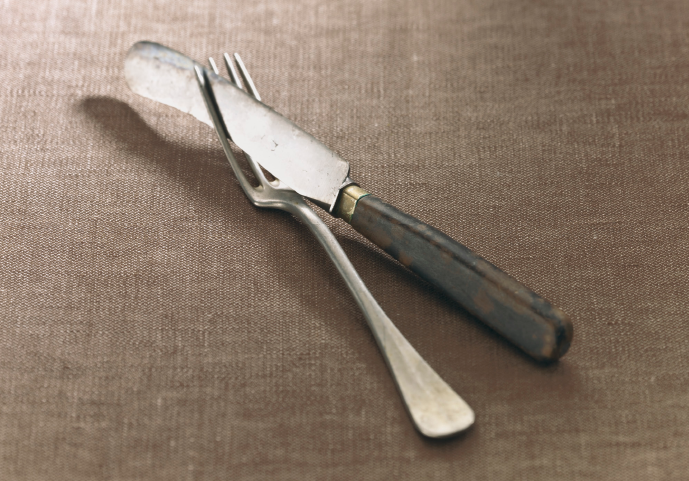
- A set of sharp knives to make clean cuts
- An electric whisk for making coffee froth
- A meat thermometer
- A refrigerator and a freezer with sufficient space for all the ingredients on the set
- An electric mixer, if you do a lot of work with dough that has to be mixed or kneaded, to get the job done more quickly than a hand whisk
Now, let’s take a look at a few classic food photography approaches and see how it’s done.
Apricot Gratin
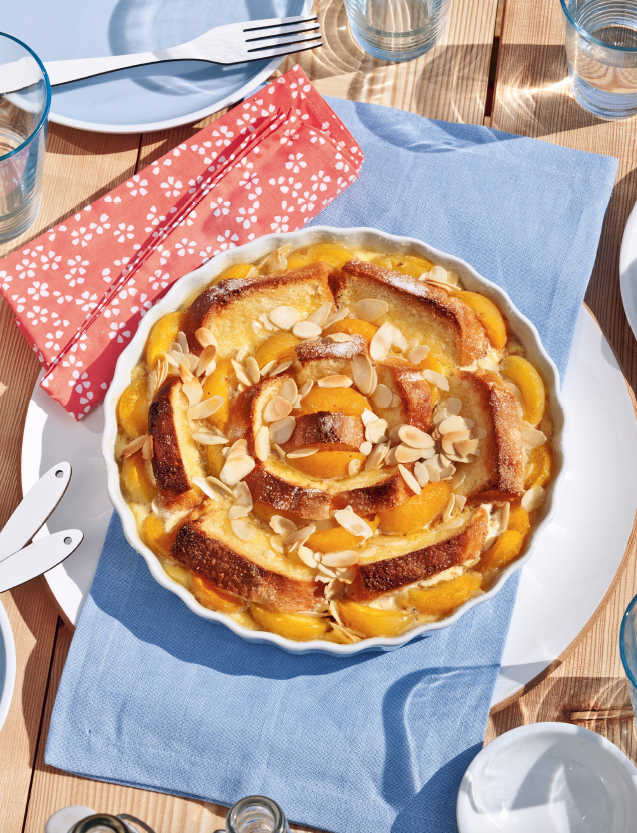
The feeling of sitting outdoors in summer and enjoying a light meal is a difficult one to beat, especially in regions where the summer is short. That is the feeling I wanted to evoke with this shot. I shot from almost vertically above to underscore the graphic nature of the setup on our table. A Fresnel spot provided hard, sunlike light, and a Styrofoam reflector brightened the shadow detail and reduced the overall contrast, thus enhancing the sunny mood.
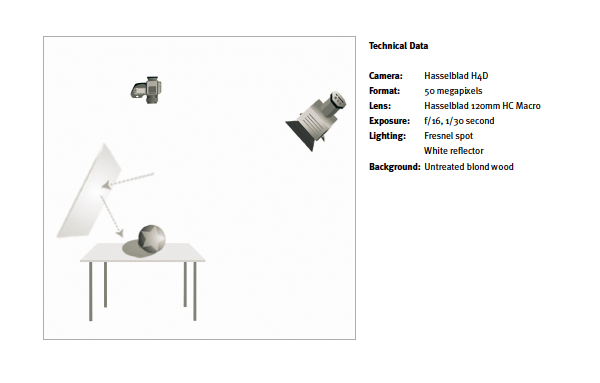
The Setup:
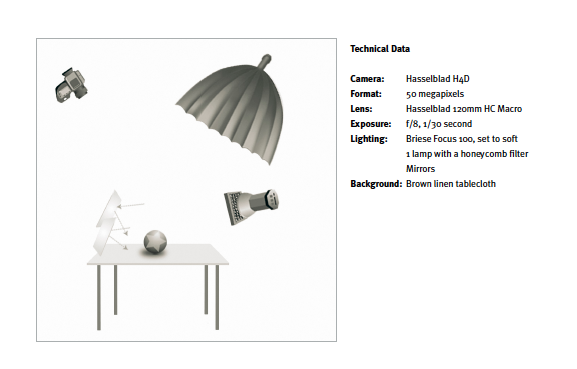
Noodle Plate
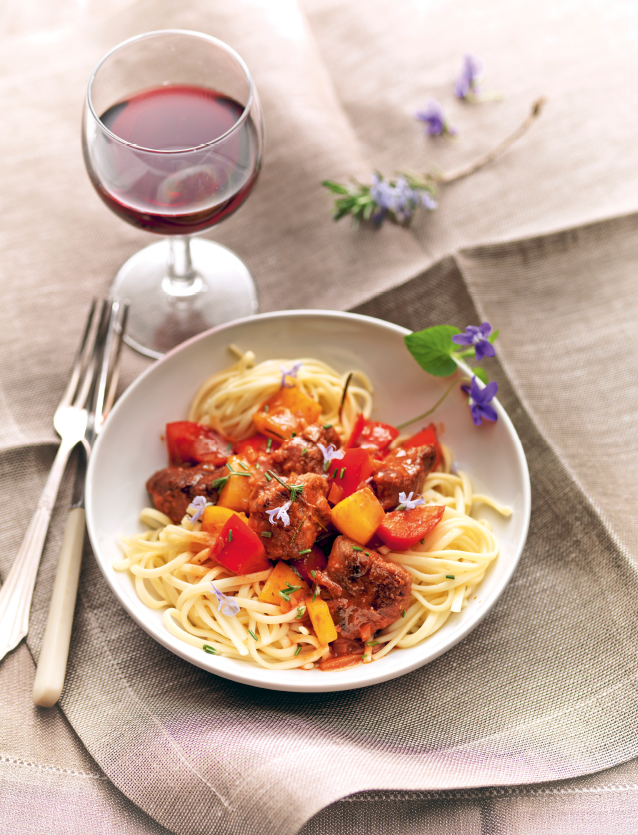
For this shot I used the unique Briese Focus lamp. Its flash tube is attached to a bracket that can be moved backward and forward within the built-in parabolic reflector. This allows it to be adjusted from soft to hard without losing definition and shape. In this case, I used a soft setting, with the tube located at the front of the reflector. I produced the brighter light toward the edge of the frame.
The Setup:
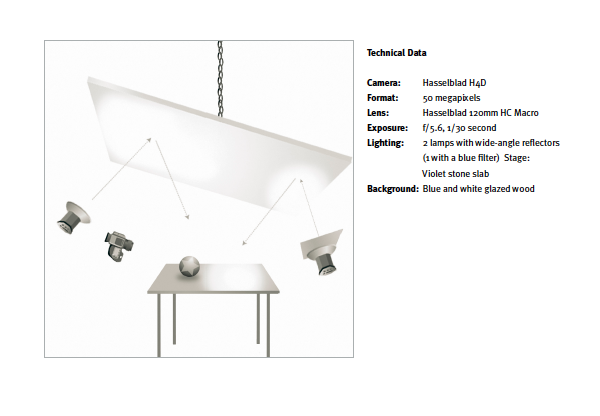
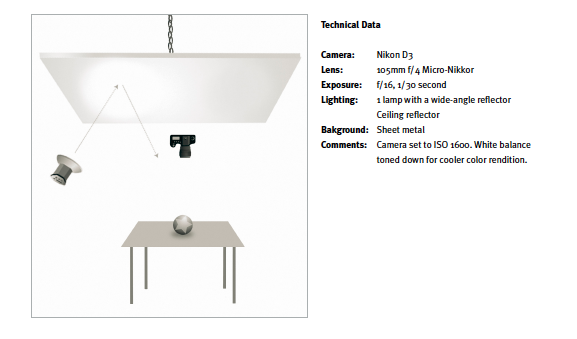
Fried Potatoes
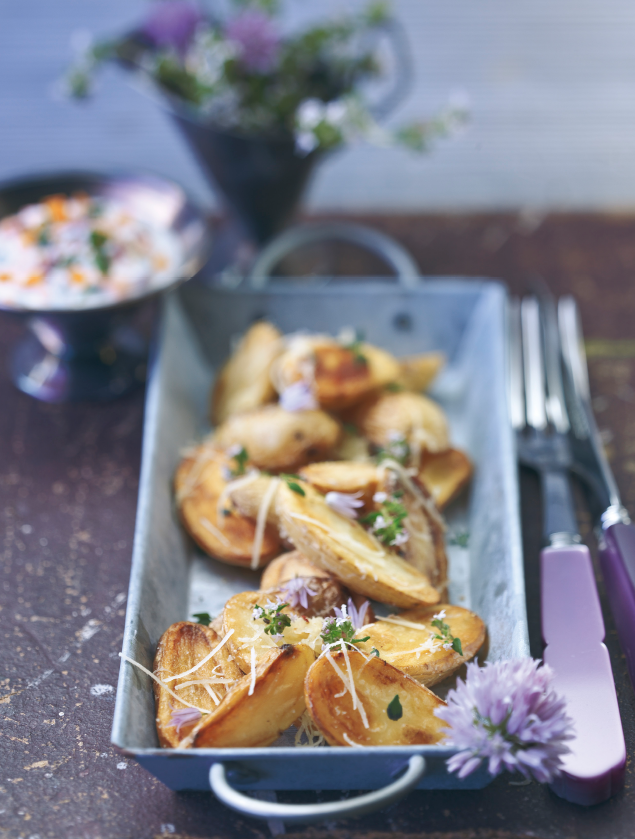
A table-level view is a popular food photo viewpoint. Combined with reduced depth of filed, this angle produces images with a feeling of great spatial depth. The colors play an important role in this image. The blue and cyan tones of the surroundings frame the complementary golden yellow tones in the fried potatoes. To use this contrast to its fullest, I added a cool blue filter to one of the lamps reflected from above. This created a blue gradient on the surface of the table, on the cutlery, and in the metal tray; the other lamp produced neutral accents and held the overall light in balance.
The Setup:
Lentil Soup
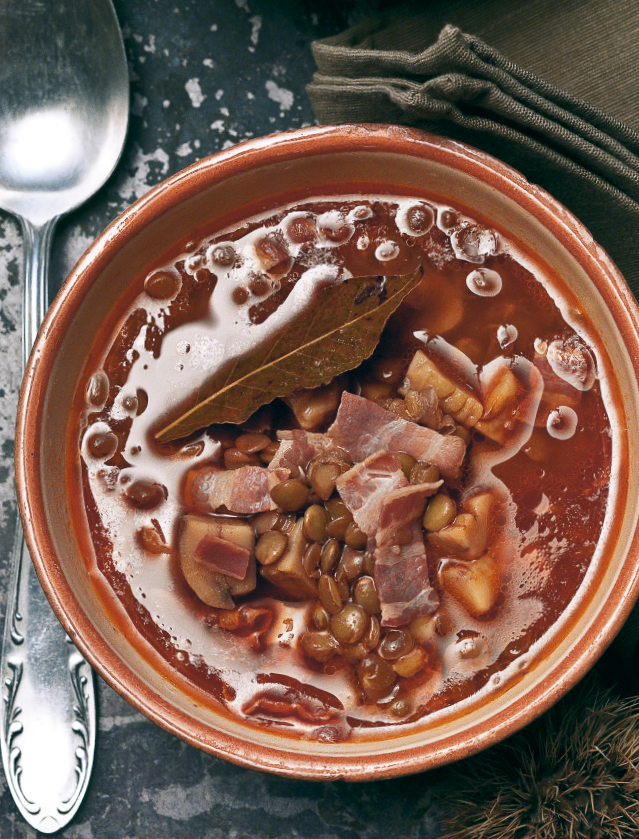
Photographing soup involves unique challenges. Reflective surfaces and ingredients that simply sink to the bottom make a soup photographer’s life quite tough. However, as we know, challenges demand solutions.
The ingredients in thin soups sink immediately, but you can use a layer of cling film cut to shape and laid carefully on the surface to prevent this from happening. You can then lay the ingredients on top of the film and add some soup to cover the film without sinking it. The rich soup in this image is full of ham, lentils, and chestnuts, and it required no trickery to get the ingredients to poke above the surface of the liquid.
The Setup:
This article is from Masterclass: Professional Studio Photography by Dennis Savini. Interested in learning more? Check out the full book here. Or, view the rest of Rocky Nook’s articles here.